How to Crop a Photo to 2x2 Inches (and Why the Square Is the Easy Part)
Cropping to a square takes seconds on any phone. Getting a 2x2 photo accepted depends on head size, pixel count and file rules that differ for passports, visas and USCIS. The real numbers, and the quickest way to hit them.
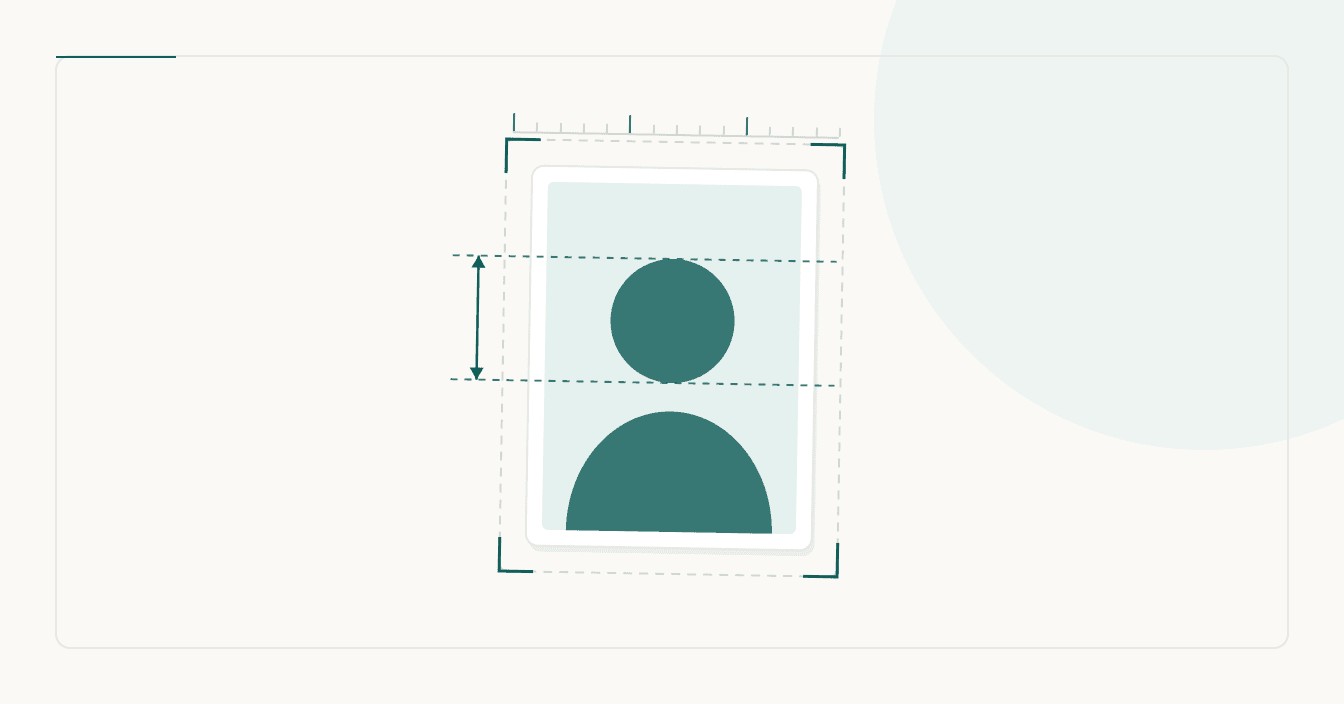
To crop a photo to 2x2, cut it to a square in which your head, from chin to the top of the head, measures 1 to 1 3/8 inches of the 2 inches (50 to 69% of the height), then save it at 600 × 600 pixels for an upload or print it at exactly 2 × 2 inches. The square takes seconds; the head size is what most crops get wrong. One exception: if you are renewing a U.S. passport online, don’t crop it beforehand. You crop it inside the application when you upload.
What a 2x2 photo actually requires
“2x2” only describes the outside edge. Each U.S. authority also sets the head size, and the digital versions add pixel and file limits:
| Where it goes | What to submit | Framing |
|---|---|---|
| U.S. passport, paper form | 1 color print, 2 × 2 in (51 × 51 mm), matte or glossy photo paper, taken in the last 6 months | Head 1–1 3/8 in (25–35 mm), chin to top of head |
| U.S. passport, online renewal | The original file, with room around your face: JPG, PNG, HEIC or HEIF, 54 KB–10 MB | Shoulders in frame; you crop it inside the application |
| DS-160 visa upload | Color JPEG, square, 600 × 600 to 1200 × 1200 px, 240 kB maximum | Head 50–69% of the image height; eyes 56–69% up from the bottom |
| USCIS forms such as I-485 and I-765 | 2 identical color prints, 2 × 2 in, thin glossy paper, unmounted | Head 1–1 3/8 in, top of hair to chin; eyes 1 1/8–1 3/8 in above the bottom edge |
Sources: the State Department’s passport, online renewal and visa photo pages, and USCIS form instructions. Two differences catch people out. Hair: the passport page lets hair run past the edges, and the passport manual (8 FAM 402.1) measures to the top of the head, not the hair; the visa photo template and USCIS count the hair, so a tall hairstyle needs a looser crop. Paper: USCIS wants thin glossy paper, with your name and A-Number, if you have one, written lightly on the back in pencil or felt pen; the passport page accepts matte or glossy.
The pixel math
At 300 pixels per inch, the resolution the State Department gives for scanning a 2 × 2 print, two inches is 600 pixels. On a 600 × 600 image your head should be 300 to 414 pixels tall, with your eyes 336 to 414 pixels above the bottom edge. The DS-160 accepts up to 1200 × 1200, but 600 × 600 is what the State Department’s own crop tool produces.
Why cropping a selfie to a square usually fails
- Distance. The State Department wants the camera several feet (1.2 m) away. A selfie is taken at arm’s length, and the passport manual warns that a close-up face can show fish-eye distortion: a bigger nose, smaller ears. No crop undoes that.
- Position. A square centered on the photo is not centered on you. Your head must be centered and sized, with your eyes in the 56–69% band.
- Background. It must be plain white or off-white, without shadows, textures or objects. A crop can’t remove a bookcase, and editing it out breaks the rule against changing the photo with software, phone apps, filters or artificial intelligence. Reshoot against a plain wall.
- The file. A square from a 12-megapixel phone photo is about 3,000 × 3,000 pixels, often HEIC and far over 240 kB; the DS-160 wants a JPEG of at most 1200 × 1200 pixels.
- Glasses. They must come off for passport and visa photos unless a signed medical note explains why they can’t.
How to crop a photo to 2x2 on iPhone, Mac, Windows and Android
Every device crops to a square for free, but none shows where your chin should sit, so check the head against the numbers above. Crop before you resize: shrinking a rectangular photo to 2 × 2 squashes it.
- iPhone (free): in Photos, open the photo, tap Edit, then Crop, tap the aspect-ratio button and choose Square. Drag and pinch until your head fits, then tap Done. You get a square, not a set pixel size.
- Mac: in Photos, double-click the photo, click Edit, then Crop, and choose Square in the sidebar. Preview can also set the pixels: select the area (Tools → Show Inspector shows its size), crop, then use Tools → Adjust Size with Resample image selected to enter 600 × 600.
- Windows: in the Photos app, select Edit image (Ctrl + E) and crop square with the preset aspect ratios; Paint’s Resize dialog, set to pixels, can then make it 600 × 600.
- Android: in Google Photos, tap Edit, then Crop, tap Aspect ratio and pick the square, then tap the checkmark and Save.
Skip the AI tools beside these crop buttons, such as Extend in Photos for Mac and Auto frame in Google Photos. They invent pixels, and the State Department says it checks photos for AI tools.
The shorter route: a 2x2 photo converter with a head guide
Our 2x2 passport photo tool does the crop and the pixel size in one pass. Drop in the photo (an iPhone HEIC works), then drag and zoom until the top of your head and your chin sit on the two dashed lines. They aim at a 30 mm head, the middle of the 25–35 mm range, so a small miss still lands inside it. You get a 600 × 600 JPEG.
For a DS-160, the US visa photo tool makes the same crop and keeps the file under 240 kB without dropping below 600 pixels. The US visa photo checker then reports dimensions, file size, color, background evenness and sharpness, and estimates head height against a plain background; it does not judge expression, glasses or open eyes. Nothing is uploaded. If the upload itself fails, see DS-160 photo upload errors.
These tools crop, resize and compress; they don’t repaint backgrounds or retouch faces. If your wall is busy or shadowed, reshoot with the setup in how to take a passport photo at home. Crop image to square makes a centered PNG, fine for a profile picture but not for the DS-160, and Resize image (exact inches at 300 DPI) is only for a photo you have already framed.
Printing a 2x2 passport photo on a 4x6
After the crop, the 2x2 tool can build a 6 × 4 inch sheet at 300 DPI with two copies and faint cut lines. One print at a pharmacy kiosk or photo lab then covers the single photo a passport needs, or the two identical photos USCIS asks for.
- Print at 100% or actual size. A fit-to-page or fill setting rescales the sheet, and the photos stop measuring 2 inches.
- Use photo paper: matte or glossy for a passport, thin glossy for USCIS. The passport page rules out photocopies and scanned photos.
- Measure with a ruler: 2 inches per side, and 1 to 1 3/8 inches from the chin to the top of the head.
Acceptance is still the reviewer’s call; the usual reasons photos fail are in why passport photos get rejected.
More from the blog
- WhatsApp profile picture size: the square you upload and the circle everyone sees
- What size photo for Instagram: the ratios Meta actually publishes
- What DPI for printing? Photos, posters, stickers, T-shirts and Procreate, with the pixel counts that actually matter
- How to see where a photo was taken: iPhone, Samsung, Google Photos, and why it usually fails for photos someone sent you